Showing posts with label second hand. Show all posts

Wednesday, April 18, 2012

bike wheel clock

Last fall while watching the pilot episode of the new Design on a Dime with Casey Noble on HGTV, I saw the designers create a clock out of a bike wheel. I thought it was so neat that I had to try it. 

Months later, after hours of fruitless searching for the episode online, or any other tutorials, I almost gave up.

But then I decided, why the heck not?

I set off to find a guinea pig wheel or bike. I struck out at several thrift stores. But then I was directed to Southwest Bikes and I tried my luck. After explaining my idea to them, I asked if they had any junk wheels I could buy. As fate would have it, they did!
Please forgive me for using a few stock photos.
Then I bought a clock kit from a craft store, similar to this one. I toyed around with the idea of buying a clock and taking it apart, but that sounded waaay out of my skill level. Or patience.

I took my treasures home and spent the next few days brainstorming and trying to disassemble the wheel. After several unsuccessful attempts, despite the youtube videos that said I could do it without special tools, I turned to professional help.

The awesome guys at Broken Spoke Bikes endured several visits from me (one where I accidentally left the bike wheel in the parking lot, they held it for me til I returned). They graciously took apart the bike cassette and sawed down the hub so the wheel could sit flush against the wall.

Then I was left with an empty skeleton of a bike wheel. I scrubbed it and the cassette parts with oven cleaner and steel wool til they shined.

I could finally begin turning it into a clock.

And since I was so wrapped up in the project, I failed to take tutorial pictures. But here's how I did it.

Total cost: Free wheel + $12 clock kit + free handy help + glue and paper on hand = $12 and DIY labor

- I dry fitted the clock parts with a few smaller sections (gears) from the bike cassette. According to my husband, some wheels' cassettes come completely apart, some are completely stuck together, and some come in several chunks. Note this when looking for a wheel. I lucked out. I sandwiched the gears in between the clock motor and the clock hands, making sure the hands had plenty of clearance to spin around. Measure twice, cut glue once, right? I carefully glued the gears to the front of the clock motor using E6000/super glue, waiting plenty of time for it to dry.

- I dry fitted the clock motor onto the middle of the wheel, looking underneath it to make sure where I would be gluing wouldn't keep me from changing the battery or changing the time on the back of the clock. I also decided I wanted the top or "12" on the clock to be where the reflector was, so I positioned the motor accordingly. Then I carefully glued the motor to the wheel.

- For the clock hands, I wanted something bigger and brighter than how the kit came. But I had to find something that wouldn't weigh down the hands or else they wouldn't function correctly. Cue scrapbook paper. Yep, I cut out four skinny rectangles, two of each size for hour/minute hands, and glued them together with the clock hands sandwiched in the middle on one end -- poking a big enough hole through the paper so the hand could attach to the clock motor. I decided to leave off the second hand. Seemed appropriate.

- I attached the clock hands to the motor, per the clock's instructions, and stepped back to look at my master{time}piece.
And then I gave it to my husband's boss, an avid cyclist.    Now I want one, too.

Monday, October 31, 2011

countertop and appliances swap

10.10-11.11

When choosing countertops for the kitchen, we decided to go with one of the standard granite colors the builder offered instead of their pricy upgrades. We knew upgrading later on with another company would cost much less. We told the sales agent about our plans and she asked if we would instead choose the other standard granite color. Apparently another home buyer didn't want it but it had already been ordered. I wasn't a fan of this new color, but we worked it out and figured it would motivate us to change the countertops sooner. And it did. Gray on Gray on Gray was not for me.
We priced out quartz countertops with several companies and found our cheapest option was actually the same company that provided our flooring -- Carpets 'N More. Go figure. After weighing our color options we chose Hanstone Aurora Snow. We also decided to mod up the kitchen some more by wrapping the sides of the island with quartz. The crew, Manuel and August, worked meticulously for two days transforming our kitchen. They tore out the old granite, hauled the huge slabs to the garage, then hauled the new quartz slabs in and out of the house as they measured, cut, recut, polished and installed the pieces. Then they made sure we were completely happy with the final result. And we were.
Let's compare. Before:
After:
 I am ecstatically thrilled with how the countertops turned out! Especially the island sides wrap. It works beautifully with our cabinets, handles and flooring. We picked out a new sink to replace the builder's top mount standard sink and Brent installed our kitchen faucet that we already owned.
The sink looks huge since it's a deep single-basin. I could probably bathe my almost two year old in there. Thank you, random decorative plumbing store behind the Palms! We'll be back soon for a shower system.

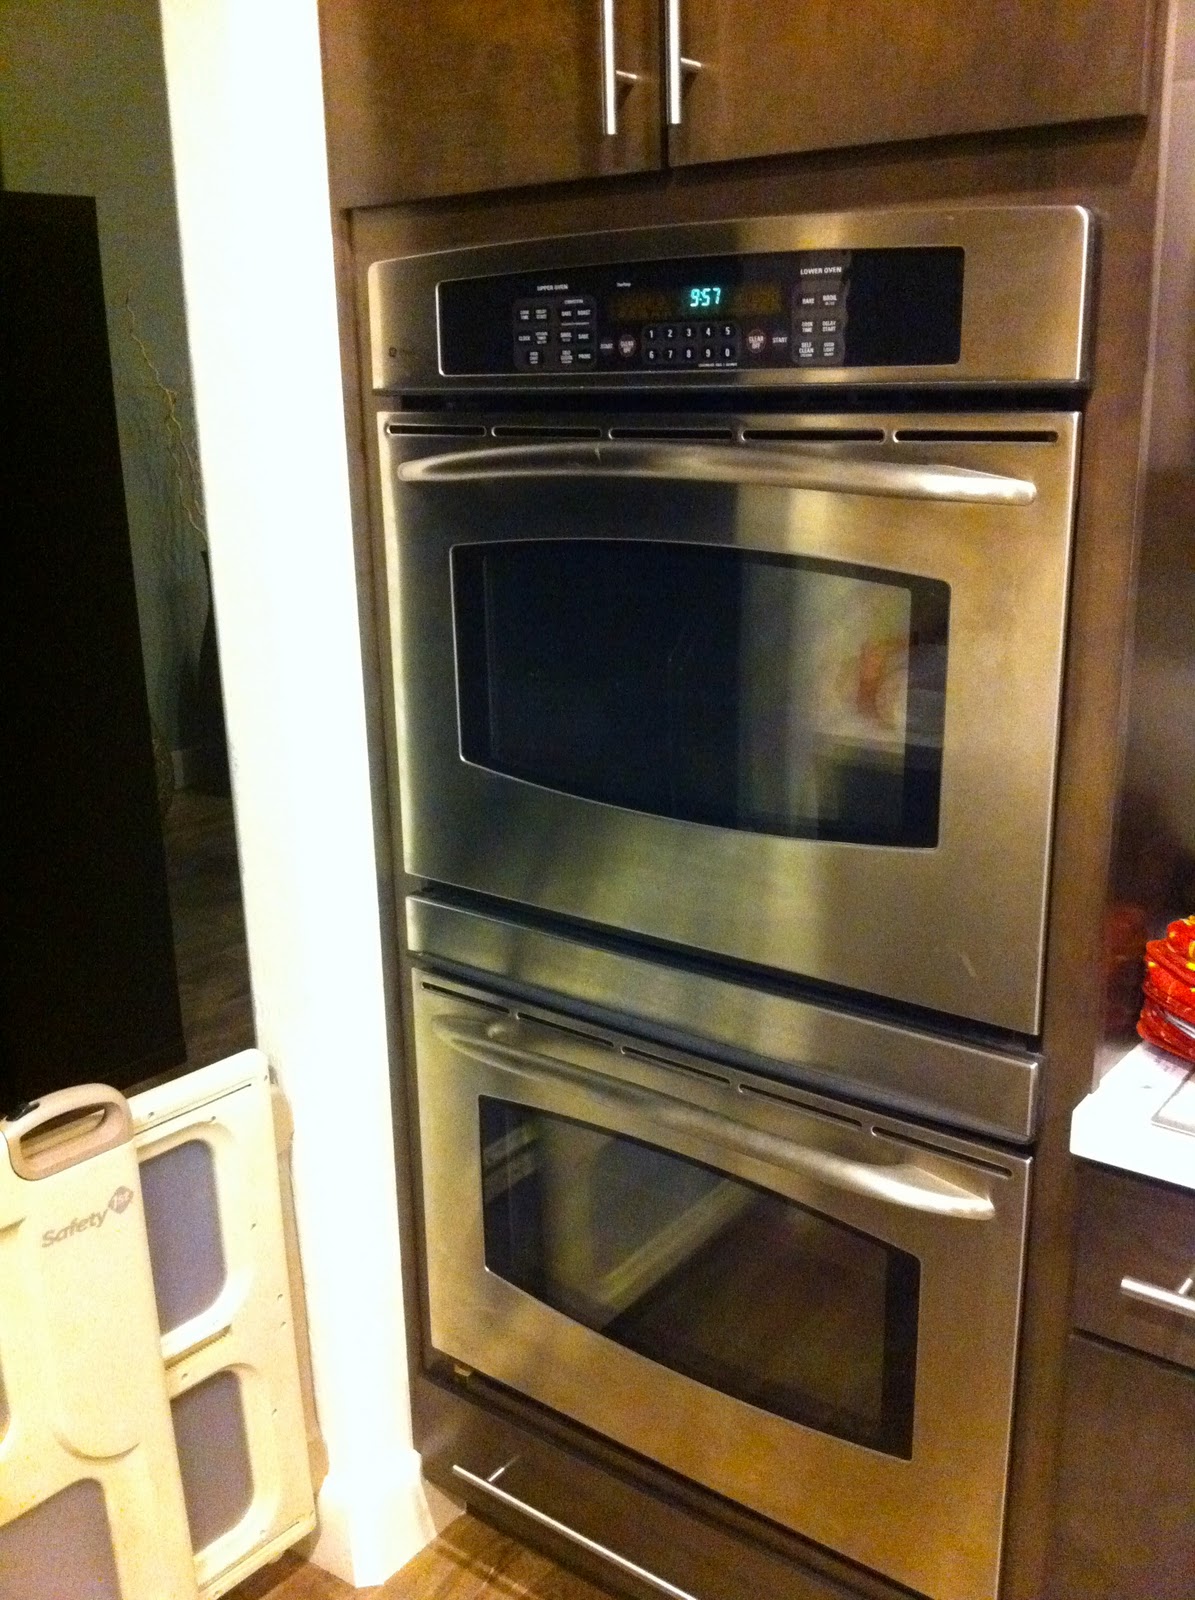
About a year ago, when we thought we would be buying a different house, we bought a set of appliances on craigslist to put inside this gutted house. Even after that house fell through, we kept the appliances hoping we could use them somewhere else. This set is a few years old but an upgrade from GE's standard stainless line. Fast forward to our new house. We still liked the old set we bought more than the set that came with the new house, so Brent uninstalled the new appliances and we sold them on craigslist.
 Then he installed the old appliances we bought before. May sound weird but I like this old set much better. And it included a five-burner cooktop.
We actually planned out the cabinet underneath to be wider so it would fit this cooktop. Something to think about if you're looking to upgrade. And we added pot drawers (I'm already thanking myself for forward thinking).

Now we just need to install the range hood, tile the backsplash and paint the rest of the kitchen. That's all. Hah.

Thursday, September 8, 2011

the 411.

A little bit of stephrything: my way of documenting my adventures as a hobby interior designer and crafter.

Here's how we're starting off. We're buying our second house soon, and since I'm not planning on moving ever again, I'm considering it my dream house and I'd like to treat it that way. After five years of marriage, we've nailed down our design style and we're ready to make our home reflect it.

Once we close on the house, we'll embark on an Extreme Extraordinary Home Makeover: New Home Edition. Why in the world would we redo a new house? Frankly, the builder's prices for upgrades were gargantuan and we'd rather make this house our own by doing things on our own.

We'll accomplish this using our favorite techniques: second hand, second life and saving money! See, only a select few items in our home were purchased new, for full price. Everything else is second hand (given to us, craigslist), bought at a discount (on sale, as-is, bargain) and therefore saved us money, or is from IKEA (which to me qualifies as saving money). I'll give a second life to things (upcycling) that aren't quite our style by repurposing, repainting, or refinishing them.

I will likely swoon at others' finished products and share ideas that inspire me. And when I'm not working on home projects, I share crafty ideas involving fashion or kids stuff (using the aforementioned techniques, of course!). I've imported crafts and posts from another blog, too. Like I said, a little bit of stephrything.
 

. stephrything . Copyright © 2011 -- Template created by O Pregador -- Powered by Blogger